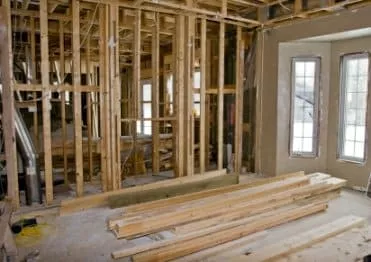
Drywall installation, also known ashanging drywall, is really the meat of the drywalling process. This is the point when all the preparation and planning comes into play, and your space is transformed from a bunch of bare wooden studs into a room.
Drywalling is not a complicated process, but there are a fair number of tricks and tips that can make it much simpler, as we’ll touch on below, in our step-by-step instructions.
These drywall hanging instructions are forwalls. Since the process is slightly different for hanging drywall on ceilings, that has its own page. Use the Navigation Bar on the left-hand side of this page to navigate there.
Stop!Before you even begin the work, be certain that you have gone through ourdrywall preparationpage. This will walk you through the entire preparation process.
Necessary Drywall Materials
Visit ourDrywall Materialspage for more information on the various types of drywall for different applications.
Then use ourDrywall Estimatorto determine how much drywall and other necessary materials (screws, etc…) you will need to purchase for the job.
Necessary Drywall Tools
OurDrywall Toolspage will walk you through the necessary (and optional) tools and equipment for installing drywall. Each of the drywall installation pages linked below includes a list of tools needed for that particular step in the process.
Drywall Installation Instructions
Step One – Safety
Begin by protecting yourself and your property. Dust is created during the cutting and sawing of drywall, and can cause respiratory irritation and coat uncovered items.
Seal off the work area by hanging plastic in doorways and windows. If isolating an area is not possible, cover exposed furniture and other items with plastic sheeting. Furnace filters should be replaced often during a drywall project.
Wear the proper personal protective equipment. This includes safety glasses and dust masks.
Use caution and follow all safety precautions when working with power tools, utility knives, and on ladders or stepstools.
Maintain a clean work area. Clean up when you are finished for the day. Don’t let clutter and dust accumulate.
Follow to the links below to continue the step-by-step process of installing drywall.

