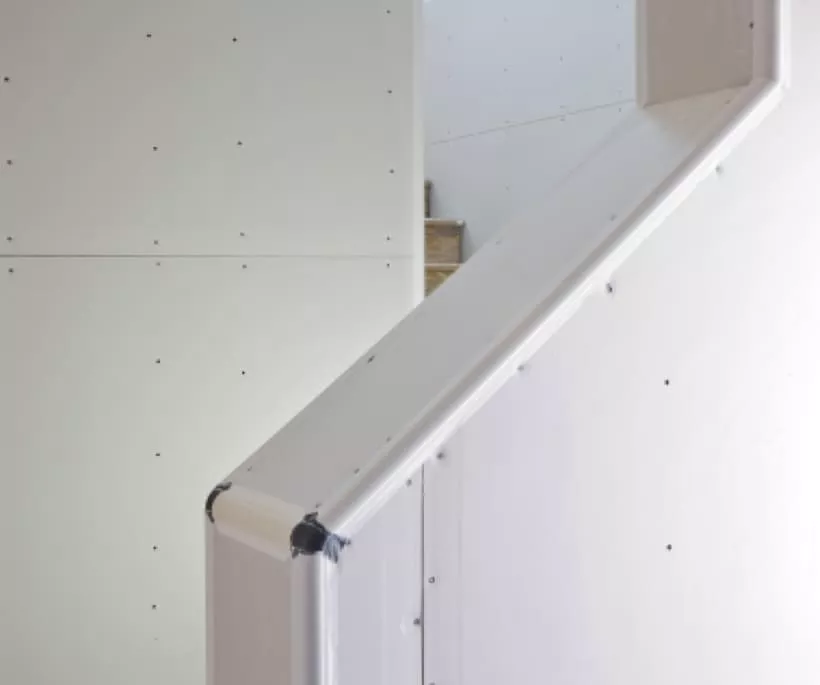
Installing drywall corner bead is a fairly simple intermediate step between hanging drywall and the beginning of your drywall taping and mudding steps.

If you are installing drywall on four flat walls – with no closets, soffits, or other protrusions – it is likely that you have none of these. These ideal scenarios, however, don’t happen often, and it is common that your drywall will meet at an outside corner.
The purpose of drywall corner bead is twofold. First, it helps protect the outside corner against damage from accidental bumping and cracking. Secondly, it helps to provide a sharp, flat corner for a better appearance.
Necessary Drywall Supplies & Tools
- Metal Corner Bead
- Tin Snips
- Tape Measure
- Screw Gun or Drill
- 1 1/2” screws
Drywall corner bead is available as either galvanized metal or PVC (plastic). We prefer to use metal, as plastic occasionally cracks during the fastening process and also provides less protection to your corners.
Applying Corner Bead
Measure the length of your outside corner. Corner bead is commonly sold in eight foot lengths. Whenever possible, you want to cover a corner with a single, unbroken piece of corner bead.
There are also several variations of drywall corner bead. Standard ninety-degree corner bead is what you will want for most jobs.
Corner bead is also sold in forty-five degree angles, in “bullnose” design for more rounded corners, and in a tabbed design that allows corner bead to follow archways and curves.
Try to avoid butting two pieces of bead together in the middle of an outside corner. The only time this should happen is when your corner is longer than 8’. You are better off using a new full piece of corner bead than attempting to scrap together the various ends and leftover pieces. These make achieving a smooth, even corner difficult.
Cut the corner bead to length with a pair of tin snips. Cut carefully and attempt not to bend the metal at the end while doing so.When you have completedhanging drywall, you may have what are known as “outside corners”.
Now place the corner bead over the raw, unfinished edge of your drywall. Let it fit comfortably against the edge. Don’t press hard on it, as this may make the “wings” flare out.
Fasten the corner bead to the drywall with 1 1/2” screws. Tighten them snugly, but don’t overtighten. You don’t need to use all of the screw holes provided in the corner bead. One screw every eight inches (every other hole) should be sufficient.
Step back and take a look. If everything looks good, you’re ready to move on to the taping and mudding steps.
